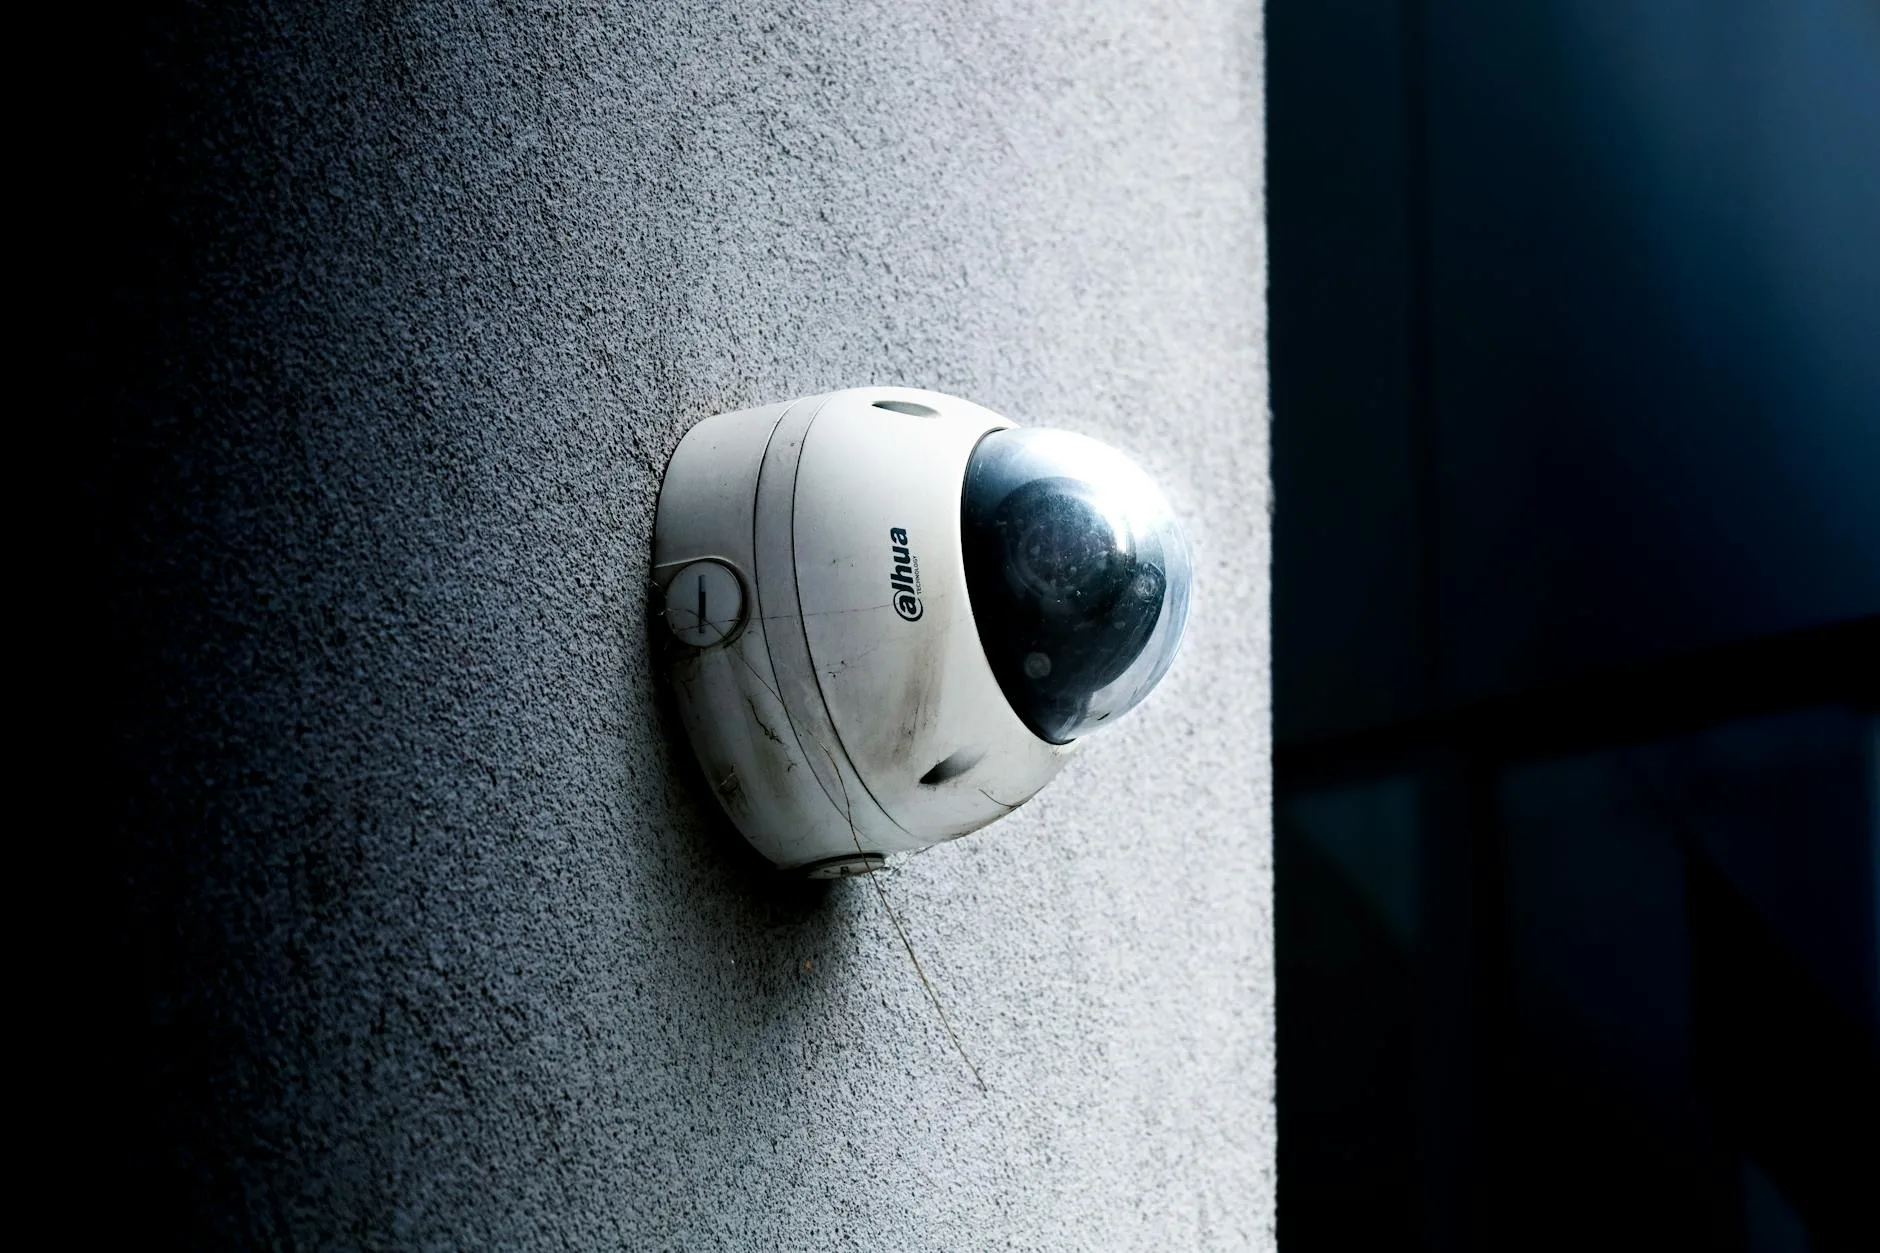
You’ve unpacked your new security cameras, stuck them to the wall with the mounting bracket, and opened the app to find a screen full of settings you weren’t expecting. Zone sensitivity. Activity zones. Motion detection schedules. Person detection vs all motion. Your camera has been live for twenty minutes and you’ve already received fourteen alerts — three for the postman, two for a cat, one for a car driving past, and eight for a tree branch swaying in the wind. At this rate, you’ll have notification fatigue by lunchtime and turn the whole system off by teatime. For related guidance, see our Best Wireless Security Camera Systems 2026 UK: Multi-Camera Kits guide. For related guidance, see our Security Camera Privacy Laws in the UK: What You Need to Know guide.
In This Article
- Why Motion Zones Matter More Than Camera Placement
- Understanding How Motion Detection Works
- Setting Up Activity Zones: Step by Step
- Sensitivity Settings Explained
- Person Detection vs All Motion
- Scheduling Motion Alerts
- Indoor Camera Zones: Specific Considerations
- Outdoor Camera Zones: Dealing With Weather and Wildlife
- Multi-Camera Zone Strategy
- Troubleshooting False Alerts
- Frequently Asked Questions
Why Motion Zones Matter More Than Camera Placement
Most people spend ages picking the perfect camera angle and almost no time configuring what that camera actually watches for. A well-placed camera with terrible zone settings will drown you in useless notifications. A decent camera with properly configured zones will tell you exactly when something important happens and stay quiet the rest of the time.
Activity zones let you draw virtual boundaries on your camera’s field of view. Anything outside those boundaries gets ignored. Anything inside triggers an alert. This means your front door camera can watch the porch without triggering every time a car passes on the road behind it, and your garden camera can monitor the shed without alerting you to every fox, hedgehog, and neighbourhood cat.
The Real Cost of Bad Zone Settings
After setting up cameras at home a couple of years ago, I quickly discovered that the default “alert on all motion everywhere” setting is genuinely useless. I was getting 40-50 notifications a day from our front camera alone — mostly shadows, passing traffic, and the occasional pigeon landing on the drive. Within a week I’d stopped checking alerts entirely, which defeated the entire purpose. It took about fifteen minutes to properly configure zones, and overnight the alerts dropped to three or four per day — all of them things I actually wanted to know about.
Understanding How Motion Detection Works
If you’re still choosing a camera, our camera buying guide covers what to look for. But once you’ve got one mounted, before tweaking zones and sensitivity, it helps to understand what your camera actually “sees” when it detects motion.
Pixel-Based Detection
Most budget and mid-range cameras use pixel-based motion detection. The camera compares each video frame to the previous one. If enough pixels change between frames, it registers motion. This is why wind-blown trees, passing clouds casting shadows, and rain can all trigger alerts — the pixels are changing even though nothing security-relevant is happening.
AI-Based Detection (Person/Vehicle/Animal)
Higher-end cameras from brands like Ring, Arlo, Google Nest, and Eufy use AI processing to classify what’s moving. Instead of just detecting pixel changes, they analyse the shape and movement pattern. A person walking triggers an alert. A cat doesn’t. This cuts false positives sharply but relies on the AI being accurate — and no system is perfect, especially at night or in poor weather.
PIR Sensors
Some cameras (particularly battery-powered ones) use passive infrared sensors alongside or instead of pixel-based detection. PIR detects heat signatures — warm bodies moving against a cooler background. These are less susceptible to shadows and lighting changes but have a more limited detection range and can miss motion that’s moving directly toward or away from the camera.
The Which? security camera reviews consistently highlight that AI-based detection clearly outperforms pixel-only in real-world testing, though it typically comes at a higher price point or requires a subscription.
Setting Up Activity Zones: Step by Step
The process varies slightly between brands, but the core concept is the same. Here’s the general approach that works across Ring, Arlo, Nest, Eufy, Hikvision, and most other popular systems in the UK.
Before You Start
- Open your camera’s live view on your phone or tablet
- Watch the feed for five minutes during a typical time of day
- Note what’s moving in the frame that you don’t care about — trees, roads, reflections
- Identify the specific areas you do want monitored — doorstep, driveway, garden path, side gate
Drawing Your Zones
- Open the camera settings in your app (usually Settings > Motion Detection > Activity Zones)
- You’ll see a still image from your camera with an overlay where you can draw shapes
- Draw a zone that covers only the area you care about — your path, porch, or driveway
- Exclude areas of constant movement — roads, tree canopy, water features, busy footpaths beyond your property
- Save and test by walking through the zone yourself
Key Tips
- Start small. It’s easier to expand a zone that’s too narrow than to debug one that’s too wide
- Use multiple zones if your camera supports them — one for the front door (high sensitivity) and another for the wider driveway (lower sensitivity)
- Avoid zone edges touching the frame border — movement entering from outside the frame can behave unpredictably at the margins
- Test at different times — shadows shift throughout the day, and a zone that works at noon might trigger constantly at sunset
Sensitivity Settings Explained
Every camera has a sensitivity slider, usually from low to high (or 1-100). This controls how much pixel change or motion is needed to trigger an alert.
What Each Level Means
- Low sensitivity — only large, obvious movements trigger. A person walking across the zone will trigger it. A bird landing probably won’t. Good for busy areas with lots of minor movement
- Medium sensitivity — the default on most cameras. Catches people and animals but may also catch fast-moving shadows, headlights sweeping across a wall, or heavy rain
- High sensitivity — catches almost everything. Useful for indoor cameras monitoring a room that should be empty (like a closed office), but terrible for outdoor use unless your zones are extremely tight
Finding the Right Level
There’s no universal “correct” setting. It depends on your camera, its position, and the environment. The method I use:
- Start at medium
- Live with it for 48 hours and note what triggers false alerts
- If you’re getting too many false alerts from a specific zone, drop that zone’s sensitivity by one step
- If you’re missing events you should be catching, raise it by one step
- Repeat until you’re getting the right balance
This iterative approach works better than trying to guess the perfect setting upfront. I had to adjust our back garden camera three times over two weeks before the alerts were actually useful — mostly because shadows from the house move across the garden differently in morning and afternoon.
Person Detection vs All Motion
If your camera offers person detection (and most decent ones sold in the UK now do), this is the single most effective way to reduce false alerts.
How to Configure
- Enable person detection as your primary alert trigger
- Disable general motion alerts or set them to “record only” (the camera records all motion but only sends push notifications for people)
- Some systems let you add vehicle detection as a secondary trigger — useful for driveway cameras
Limitations
Person detection isn’t perfect. In our experience:
- Works well: daylight, clear weather, people walking normally, distances under 8-10 metres
- Struggles with: heavy rain or snow, people wearing bulky coats that obscure their outline, very dark scenes, people partially hidden behind objects, delivery drivers who approach and leave within seconds
- Fails occasionally with: small children (sometimes classified as pets), people on bicycles (sometimes classified as vehicles), and the classic — someone wearing a high-vis jacket that confuses the colour-based AI
For most UK homes, person detection plus a properly drawn activity zone eliminates 90% of false alerts. The remaining 10% is mostly weather-related and unavoidable without human monitoring.
Scheduling Motion Alerts
You don’t necessarily want alerts at the same sensitivity all day. Scheduling lets you adjust based on when the house is occupied, when you’re sleeping, and when the area should be quiet.
Common Schedules
- Daytime (when you’re home): Alerts off for indoor cameras, low sensitivity for outdoor cameras. You’re there — you can see what’s happening
- Daytime (when you’re out): Full alerts on everything. Your house is empty, and you want to know about any activity
- Night-time: High sensitivity on all external cameras. Lower sensitivity (or person-only) on indoor cameras if you have pets moving around
- Geofencing: Some apps (Ring, Google Home, Arlo) can automatically switch modes based on your phone’s location. When everyone leaves the house, cameras activate. When someone arrives home, indoor cameras deactivate
How to Set Up
Most apps have a “Modes” or “Schedules” section:
- Create a “Home” mode — indoor cameras off, outdoor cameras on with person detection only
- Create an “Away” mode — all cameras active, all motion types, high sensitivity
- Create a “Sleep” mode — indoor cameras on key entry points only, outdoor cameras on full
- Either schedule these modes by time or use geofencing to switch automatically
I find geofencing works well about 80% of the time but occasionally gets confused when my phone connects to a neighbour’s WiFi network or GPS drifts near the geofence boundary. A manual toggle via the app widget is a reliable backup. Our guide to checking camera footage remotely covers how to review events from your phone when you get an alert.
Indoor Camera Zones: Specific Considerations
Indoor cameras have different challenges from outdoor ones. The lighting is more consistent, but there are more sources of false triggers that you wouldn’t expect.
Common Indoor False Triggers
- Pets — cats jumping onto furniture, dogs walking past. If your camera has pet detection, enable it and filter pets from notifications
- Robot vacuums — a Roomba crossing a room will trigger every camera it passes. Schedule camera alerts to pause during cleaning times
- Ceiling fans — the shadow of rotating fan blades causes constant pixel changes. Zone your cameras to exclude the ceiling
- Curtains — lightweight curtains moving in a draft from an open window. Exclude window areas from your zone if this is an issue
- TV screens — a television displaying movement can trigger a camera pointed at the room. Angle the camera away from direct TV line-of-sight
Best Indoor Zone Strategy
For a standard UK home, our budget security setup guide recommends:
- Hallway camera: Zone the front door area and the bottom of the stairs. Exclude any windows in the hallway (passing traffic reflections)
- Kitchen/living room camera: Zone entry points (doors) and the area around valuables. Exclude windows and the TV zone
- Baby/pet monitoring: Full room coverage is fine — you want to see everything. Set sensitivity to medium-high
Outdoor Camera Zones: Dealing With Weather and Wildlife
The UK weather is the nemesis of outdoor motion detection. Rain, fog, spiderwebs, and dramatic lighting changes throughout the day all conspire to trigger false alerts.
Weather-Specific Settings
- Rain: Drops hitting the camera lens or heavy rain in the field of view cause massive pixel changes. Lower sensitivity during known rain or enable person-only detection. Some cameras (Ring, Eufy) have specific rain-resistance modes
- Wind: Tree branches, bushes, wheelie bins, garden ornaments — anything that moves in wind. Draw your zones to exclude vegetation and loose objects
- Fog: Reduces detection range and can cause AI detection to fail. Nothing much you can do about this except accept lower reliability in fog
- Snow: Similar issues to rain, plus accumulated snow changes the scene baseline, causing false triggers until the camera recalibrates. Clear snow from the camera lens promptly
- Spiderwebs: The single most annoying outdoor camera problem. A spider builds a web directly in front of the lens overnight, and every vibration of the web triggers motion detection. Some cameras have IR LEDs positioned away from the lens housing to reduce this — Hikvision’s “DarkFighter” range and Eufy’s detached solar panel cameras are less susceptible
Night Vision and IR
Infrared illumination at night creates its own zone issues. IR light reflects off nearby surfaces (walls, fences, glass) and can create bright spots that confuse detection. If your camera has adjustable IR intensity, reduce it when objects are close. If bugs are attracted to the IR light (very common in summer), expect false triggers — consider cameras with longer-range IR that doesn’t attract as many insects.
The government’s surveillance camera code of practice also reminds UK residents that cameras should not overlook neighbours’ property or public spaces excessively — something to consider when drawing your zones.
Multi-Camera Zone Strategy
If you have more than one camera, your zones should work together as a system rather than independently.
Overlapping Coverage
Position cameras so their zones overlap at critical points — particularly entry paths. If someone approaches your house, they should trigger at least two cameras on the way in. This gives you multiple angles and reduces the chance of missing an event because one camera failed to detect.
Zone Naming
Name your zones clearly:
- “Front Door — Porch” not “Zone 1”
- “Back Garden — Shed Path” not “Camera 2 Motion Area”
When you get an alert at 2am, you want to know instantly where the activity is without opening the app and comparing camera views.
Alert Priority
Not every camera deserves equal alert priority. In a typical UK home setup:
- High priority (instant push notification, sound alert): Front door, side gate, ground floor entry points
- Medium priority (silent push notification): Driveway, back garden, garage
- Low priority (record only, check later): Internal rooms when home, low-traffic areas
Troubleshooting False Alerts
Even with proper zones and sensitivity, you’ll occasionally need to troubleshoot specific false alert patterns.
Systematic Approach
- Check your alert history and identify the trigger pattern — is it always at the same time? Same zone? Same type of movement?
- Watch the recorded clips and note what actually caused the trigger
- Adjust the specific zone or sensitivity that’s causing the problem
- Wait 48 hours and reassess
Common Fixes
- Alerts at sunrise/sunset: Shadows shift rapidly. Tighten zones or reduce sensitivity during transitional hours
- Alerts every time a car drives past: Your zone extends beyond your property boundary. Pull it back
- Alerts when lights come on indoors: Light visible through windows triggers outdoor cameras. Exclude window areas from the outdoor zone, or add curtains
- Constant alerts from one corner: Usually vegetation. Either trim the bush or exclude that corner from the zone
- Alerts only at night: Often insects attracted to IR light. Try a camera with IR LEDs positioned further from the lens, or reduce IR intensity
When to Accept Imperfection
No system is 100% accurate. Even the best AI-powered cameras will occasionally miss a person or falsely alert on a shadow. The goal is to get false positives low enough that you actually check every alert — and to ensure genuine events are never missed. Three to five false alerts per camera per day is a reasonable target for outdoor cameras in the UK. If you’re under that, your zones are working well.
Frequently Asked Questions
How many activity zones should I create per camera? Most cameras support 2-4 zones. Use as many as you need, but each with a specific purpose. A front camera might have one zone for the porch (high sensitivity, person detection) and another for the driveway (medium sensitivity, person and vehicle detection). More zones isn’t always better — overlapping zones can cause duplicate alerts.
Do activity zones affect recording or just alerts? This depends on your camera. Most Ring and Nest cameras record continuously or on all motion but only send notifications for activity within your zones. Eufy and Reolink cameras typically only record when motion is detected within zones. Check your specific camera’s settings — you usually want recording on all motion and alerts only within zones.
Will security camera zones work with Alexa or Google Home? Yes. If your cameras are linked to Alexa or Google Home, the zone and alert settings configured in the camera’s native app carry over. When Alexa announces “motion detected at front door,” that’s using the zones you’ve set in the Ring or Eufy app. Smart home routines can also trigger based on specific zone alerts — for example, turning on the porch light when the front door zone detects a person.
Do I need a subscription for person detection? It depends on the brand. Ring requires a Ring Protect subscription (from £3.49/month) for person detection. Google Nest requires Nest Aware (from £5/month). Eufy offers person detection free with no subscription on most models — one of the main reasons it’s popular in the UK. Arlo requires an Arlo Secure plan (from £2.79/month) for AI features.
How do I stop spiders triggering my outdoor cameras? This is arguably the most common complaint among UK outdoor camera owners. Options: apply a thin layer of petroleum jelly around (not on) the lens housing to deter web-building, use a camera with IR LEDs positioned away from the lens, or regularly brush away webs with a soft cloth. Some people suggest insect repellent spray near the camera, but this can damage the lens coating — avoid it.