It’s 10pm on a Tuesday. You’ve finally got the kids to bed, you flop onto the sofa, and the room is lit up like a Tesco car park. The big light is blazing. You could get up and fiddle with the dimmer switch — or you could tap your phone once and have the room shift to a warm, relaxed glow. That’s what smart lighting scenes do, and once you’ve set them up, you’ll wonder why you ever lived without them.
The good news? You don’t need to be technical to set up smart lighting scenes and schedules. If you can use a smartphone app, you can do this. The slightly trickier part is knowing what scenes to create, how to schedule them sensibly, and which settings actually make a difference to daily life rather than being a novelty that wears off after a week.
This guide walks you through the whole process — from planning your first scene to building automated schedules that run your lights without you lifting a finger.
What Are Smart Lighting Scenes?
A scene is simply a saved lighting setup that you can activate with one tap, voice command, or automation trigger. Instead of adjusting each bulb individually — brightness here, colour temperature there — you configure everything once and save it as a preset.
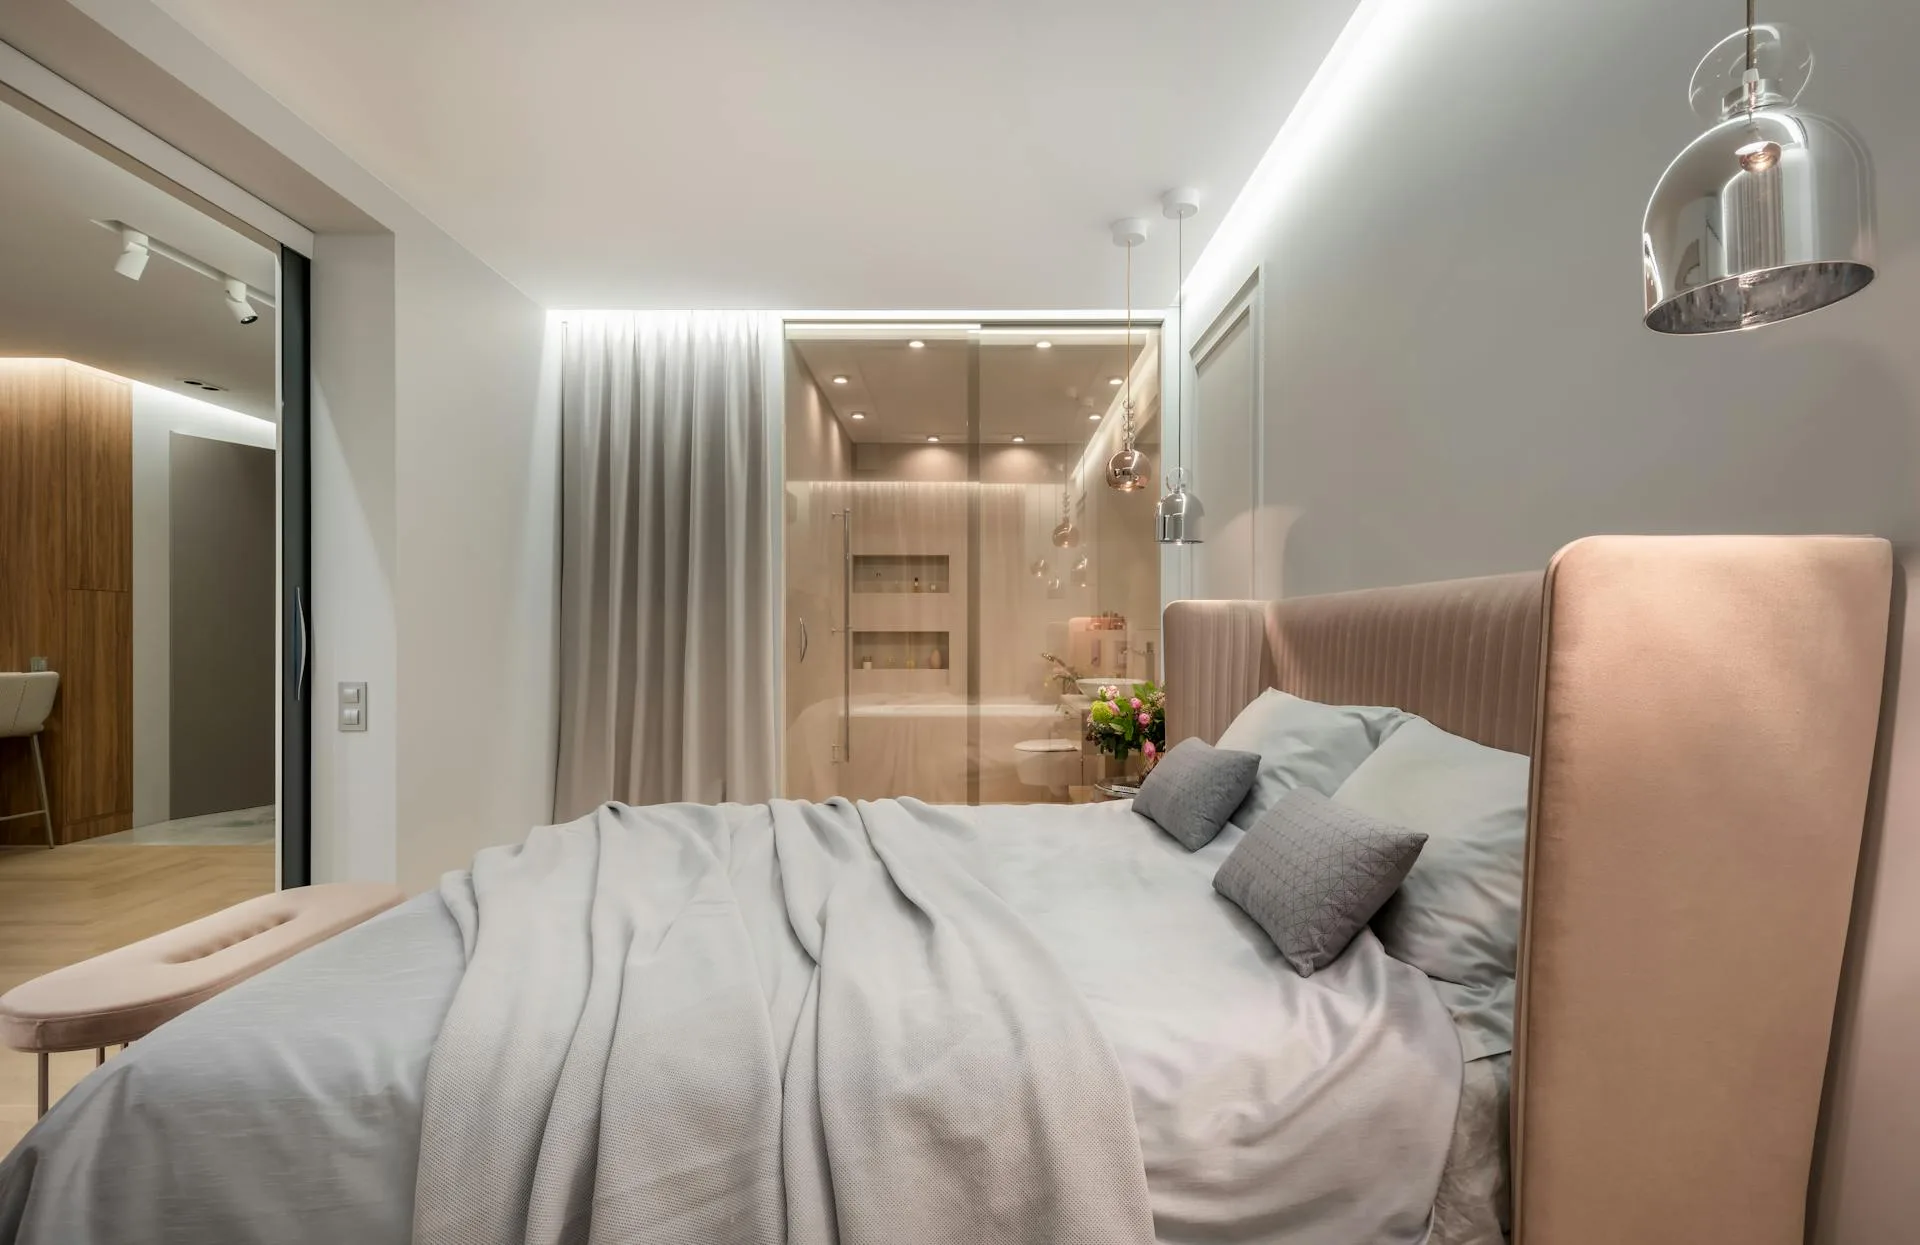
For example, a “Movie Night” scene might set your living room ceiling light to 10% brightness at a warm 2200K, turn off the side lamp entirely, and set an LED strip behind the TV to a soft blue. One tap, and every light snaps into position.
Most smart lighting systems support scenes natively:
- Philips Hue — scenes built into the Hue app with room-by-room control
- IKEA Dirigera — scene support through the IKEA Home Smart app
- Tuya/Smart Life — scenes and automations in the Smart Life app (covers dozens of budget brands)
- Apple HomeKit — scenes that work across any HomeKit-compatible bulb
- Amazon Alexa / Google Home — platform-level scenes spanning multiple brands
The terminology varies slightly between platforms, but the concept is always the same: save a group of light settings, recall them instantly.
Planning Your Scenes Before You Start
Don’t just dive into the app and start creating random scenes. Five minutes of planning saves hours of tweaking later.
Think about your daily routine room by room. What lighting do you actually need at different times of day? Most households end up with some variation of these:
- Morning — bright, cool white light (around 4000-5000K) in the kitchen and bathroom to wake you up
- Daytime — if you work from home, a focused bright light at your desk with softer ambient light elsewhere
- Evening — dimmed warm light (2700K or lower) in living spaces, brighter in the kitchen while cooking
- Bedtime — very dim, very warm light (2200K) in hallways and bedrooms
- Away — lights that mimic occupancy when you’re out, cycling on and off in realistic patterns
Write these down. Seriously — open Notes on your phone and jot out which rooms need which moods. It makes the setup process much faster because you’re not making decisions on the fly in the app.
Choosing the Right Colour Temperature
Colour temperature matters more than most people realise. It’s measured in Kelvin (K), and here’s what the numbers actually mean in practice:
- 2200K — candlelight warm, perfect for winding down in the evening
- 2700K — classic warm white, like a traditional incandescent bulb
- 4000K — neutral white, good for task lighting and home offices
- 5000K+ — daylight white, energising but harsh in the evening
If your bulbs support tuneable white (most smart bulbs above £10 do), use it. The difference between a 2200K bedroom at 9pm and a 4000K bedroom at 9pm is night and day — literally. Research from the Sleep Foundation backs this up: exposure to cool white light in the evening suppresses melatonin and makes it harder to fall asleep.
Step-by-Step: Creating Your First Scene
The exact steps depend on your app, but the process is almost identical across platforms. I’ll use Philips Hue as the main example since it’s the most common system in UK homes, but the logic applies everywhere.
Step 1: Group Your Lights by Room
Before creating scenes, make sure your lights are organised into rooms within your app. Every platform supports this — Hue, Google Home, Alexa, HomeKit, the lot.
Go to your app’s room settings and assign each bulb to the correct room. If you’ve got a ceiling light and two lamps in the living room, all three should be in a “Living Room” group. This means when you create a scene for that room, it controls all three at once.
Step 2: Set Each Light Manually
Pick the room you want to create a scene for. Adjust each light to exactly the brightness and colour temperature you want. Take your time here — sit in the room, look at how the light feels, and tweak until it’s right.
A few practical tips:
- Don’t set everything to the same brightness. Layered lighting looks far better. Maybe the ceiling light at 40% and a table lamp at 80% creates a cosier feel than both at 60%.
- Warm it up more than you think. People almost always set colour temperature too cool for evening scenes. Go warmer than feels natural in the app — it’ll look better in person.
- Turn some lights off within the scene. A scene doesn’t mean every light is on. Your “Relax” scene might deliberately leave the overhead off and only use side lamps.
Step 3: Save the Scene
Once the lighting looks right, save it. In Hue, tap the scene icon in the room view, then “Create Scene.” Name it something obvious — “Evening Relax,” not “Scene 4.”
Name your scenes clearly because you’ll be saying them out loud to voice assistants later. “Hey Google, activate Evening Relax” works. “Hey Google, activate Cosy Vibes Mark 2 Final” doesn’t.
Step 4: Test and Refine
Activate the scene at the time of day you’ll actually use it. That “Evening Relax” scene you set up at 2pm might look completely different at 9pm when there’s no daylight coming through the windows. Test in context, then tweak and re-save.
Building Lighting Schedules That Actually Work
Scenes are the what. Schedules are the when. A schedule automatically activates a scene at a set time — or based on a trigger like sunset, your phone’s GPS, or a motion sensor.
Time-Based Schedules
The simplest approach. In your app’s automation section, create a rule like:
- At 7:00am, activate “Morning Bright” in the kitchen
- At sunset, activate “Evening Warm” in the living room
- At 10:30pm, activate “Bedtime Dim” in all rooms
- At 11:30pm, turn everything off
Most apps let you use sunrise/sunset rather than fixed times, which is brilliant in the UK where sunset swings from 3:50pm in December to nearly 9:30pm in June. A fixed “turn on at 5pm” schedule would be pointless half the year. For related guidance, see our Philips Hue vs LIFX vs Nanoleaf: Smart Lighting Brands Compared guide.
Location-Based Triggers
Both Google Home and Apple HomeKit can trigger scenes based on your phone’s location. The classic use case: lights come on automatically when you arrive home after dark.
This works well for single-person households. For families, it gets messier — you need everyone’s phone registered, and the “last person leaves” trigger requires every household member to have departed. It’s worth setting up but don’t rely on it exclusively.
Motion-Triggered Scenes
If you’ve got motion sensors — something like the Hue Motion Sensor (about £35 from Amazon UK) or an Aqara sensor on a Zigbee hub — you can trigger scenes based on movement. A hallway that lights up at 20% warm white when you walk through at 2am is genuinely useful, especially if you’ve got kids who wander.
If you’re not sure which sensor protocol suits your setup, our guide to Zigbee vs Z-Wave vs Wi-Fi smart lighting protocols breaks down the differences.
Using Voice Control With Your Scenes
Voice control is where scenes become properly convenient. Instead of opening an app, you just say “Alexa, set the living room to Movie Night” or “Hey Google, goodnight” — and everything adjusts.
Setting Up Voice Commands
If you’re using Alexa or Google Home, your scenes should appear automatically once the lighting platform is linked. In Alexa, go to Devices → Scenes to see them. In Google Home, they show up under Automations or when you link your Hue/IKEA/Smart Life account.
For Apple HomeKit, scenes created in the Home app work natively with Siri. “Hey Siri, Evening Relax” — done.
Grouping Scenes Into Routines
The real power comes from combining lighting scenes with other smart home actions. An Alexa “Goodnight” routine might:
- Activate your “Bedtime” lighting scene
- Lock the front door smart lock
- Set the thermostat to 18°C
- Arm your smart alarm system
- Play sleep sounds on a bedroom speaker
Google Home routines and Apple HomeKit automations offer similar combinations. One command, multiple actions — that’s when a smart home starts feeling really smart rather than just remotely controlled.
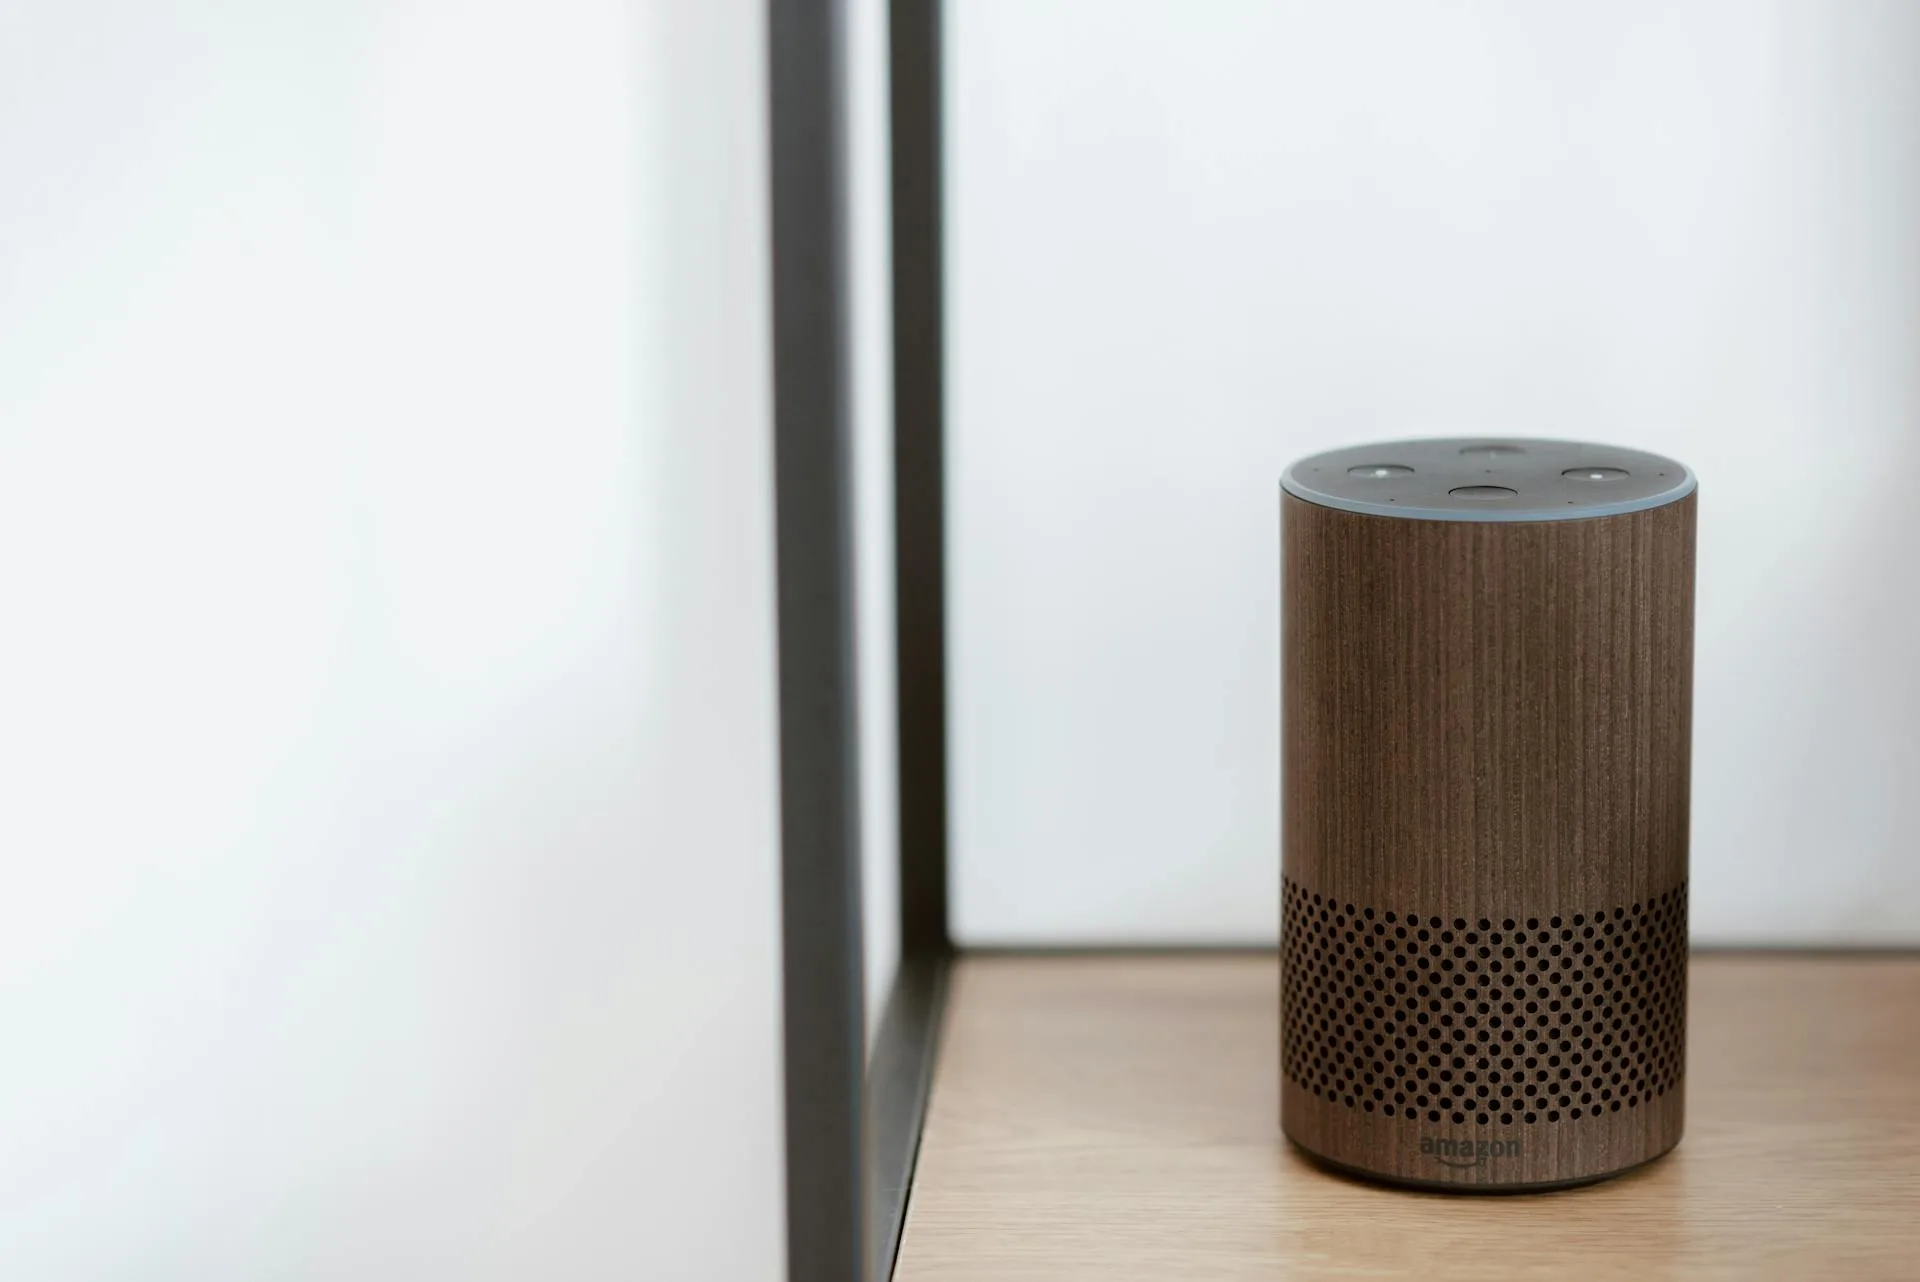
A Note on Smart Speakers
You’ll want at least one smart speaker or display in each main room for voice control to feel natural. You shouldn’t have to shout from the kitchen to trigger a scene in the bedroom. An Echo Dot or Nest Mini costs about £25-30 on sale and makes the whole system feel more responsive.
Advanced Tips and Automations
Once the basics are running, these tweaks make a noticeable difference.
Adaptive Lighting
Philips Hue and Apple HomeKit both support adaptive lighting — your bulbs automatically shift colour temperature throughout the day without any scenes or schedules. Cool white in the morning, gradually warming through the afternoon, deeply warm by evening.
It’s brilliant as a baseline. You can still override it with scenes when you want a specific mood, but adaptive lighting handles the day-to-day without you thinking about it.
Transition Times
Most apps let you set how quickly a scene activates. An instant snap to “Evening Relax” feels a bit jarring. A 30-second fade? Much more natural. Hue lets you set this per scene. Smart Life and Google Home have similar options in their automation settings.
Play with transition times of 10-60 seconds for evening scenes. For morning wake-up schedules, a slow 15-20 minute fade from 0% to full brightness works as a gentle sunrise alarm — far nicer than a light snapping on.
Holiday Mode and Security Lighting
When you’re away, a simple on/off timer looks exactly like what it is — a timer. Burglars aren’t fooled by a lamp clicking on at 6pm and off at 11pm for five days straight.
Better approach: most smart lighting apps have a “vacation mode” or you can create randomised schedules. Hue’s “Away from Home” routine varies timing by up to 30 minutes each day and activates different rooms. If your app doesn’t have this built in, create 3-4 slightly different evening schedules and randomise which one runs each day.
For more on securing your home while away, see our guide on the best security cameras for 2026.
Combining With Other Sensors
Smart lighting gets particularly clever when combined with other inputs:
- Door sensors — hallway light triggers when the front door opens after sunset
- Temperature sensors — if the room hits a certain temperature, shift to cooler blue-toned light (subtle, but people report it feeling cooler)
- Light level sensors — only trigger evening scenes when ambient light actually drops below a threshold, not at a fixed time
Our guide to smart alarm sensors covers the sensor types that double up nicely for lighting automations.
Common Mistakes to Avoid
A few things I see people get wrong repeatedly:
- Too many scenes. You don’t need 15 scenes per room. Three or four covers 90% of real life — morning, evening, relax, and maybe a “bright” override for cleaning or finding something you dropped.
- Ignoring the physical switches. If someone flips the wall switch off, your smart bulb loses power entirely. It can’t respond to schedules or voice commands until power is restored. Smart switches (like the Hue wall module at about £35) solve this — they send a signal to the hub instead of cutting power.
- Setting schedules but never reviewing them. That 7am kitchen schedule is annoying on weekends. Build day-of-week conditions into your automations, or create separate weekday and weekend schedules.
- Forgetting guests. Your partner’s parents visit and can’t turn on a single light because everything requires an app. Keep physical controls accessible or set up a simple tablet-based dashboard in the hallway.
Troubleshooting Quick Fixes
If scenes or schedules aren’t firing:
- Check your hub is online. Zigbee-based systems like Hue need the bridge powered and connected to your router. If it’s offline, nothing works.
- Update firmware. Bulb and hub firmware updates fix timing bugs and improve scene reliability. Check for updates monthly.
- Verify automations are enabled. It’s embarrassingly easy to accidentally toggle an automation off and spend 20 minutes troubleshooting a schedule that’s simply disabled.
- Restart the app. Some apps (looking at you, Smart Life) cache old scene data. Force-close and reopen.
- Check your Wi-Fi. Wi-Fi bulbs depend entirely on your network. If your router is in the front room and your bulbs are in the loft conversion two floors up, signal strength could be the issue. A mesh Wi-Fi system or Zigbee hub solves this.
Frequently Asked Questions
Do I need a hub to set up smart lighting scenes? Not always. Wi-Fi bulbs from brands like TP-Link Tapo and LIFX work directly with your router and support scenes through their apps or Alexa/Google Home. However, Zigbee bulbs (Philips Hue, IKEA) do need a hub. Hubs offer better reliability and faster response times, especially if you have more than 10 bulbs.
Can I mix different smart lighting brands in the same scene? Yes, if you use a platform-level scene in Alexa, Google Home, or Apple HomeKit. These platforms can control bulbs from multiple brands within a single scene. You can't mix brands within the Hue app itself, but Google Home will happily put Hue, IKEA, and Tapo bulbs in one scene.
How many scenes can I create per room? Most platforms have no hard limit. Philips Hue supports up to 200 scenes per bridge. Practically speaking, 3-5 per room is plenty for daily use. More than that and you'll spend longer choosing a scene than it would take to just adjust the lights manually.
Will smart lighting schedules work if my internet goes down? It depends on the system. Zigbee hubs like the Hue Bridge and IKEA Dirigera store schedules locally, so they keep running without internet. Wi-Fi bulbs that rely on cloud servers will stop responding to schedules during outages. If reliability matters, a hub-based system is the better choice.
What's the cheapest way to get started with smart lighting scenes in the UK? A pair of TP-Link Tapo L530E colour bulbs costs about £20 from Amazon UK. They connect via Wi-Fi (no hub needed), support scenes in the Tapo app, and work with Alexa and Google Home. For a step up, the IKEA Tradfri starter kit with two bulbs and the Dirigera hub runs about £60-70 and gives you Zigbee reliability.