The alarm engineer wants £350 for installation and you’re looking at a box that says “set up in 30 minutes” on the side. Half of you thinks it can’t be that simple. The other half remembers the last time you tried to pair a Bluetooth speaker and it took an hour. The truth is somewhere in between — DIY smart alarms are designed for non-technical people, but there are enough gotchas to ruin your afternoon if you don’t plan ahead. For related guidance, see our Best Smart Alarm Keypads and Panic Buttons 2026 guide. For related guidance, see our Smart Alarm Sensors Explained: PIR, Door, Window & More guide.
In This Article
- Before You Start: What You’ll Need
- Choosing Where to Put the Base Station
- Step-by-Step Installation Guide
- Sensor Placement Strategy
- Connecting to Your Phone and Wi-Fi
- Setting Up Modes and Schedules
- Testing Your System Properly
- Common Installation Mistakes
- Professional Monitoring vs Self-Monitoring
- Integrating With Your Smart Home
- Frequently Asked Questions
Before You Start: What You’ll Need
Essential Kit
- The alarm kit itself — base station, keypad (if separate), door/window sensors, PIR motion sensors, siren
- Your phone with the manufacturer’s app downloaded (Ring, Yale, SimpliSafe, etc.)
- Strong Wi-Fi at the base station location — test with your phone’s signal strength
- A Phillips screwdriver and a drill with 5mm masonry bit (for wall mounting)
- Adhesive strips (usually included) for sensors you don’t want to drill
- A step ladder for high-mounted motion sensors
- 30-60 minutes of uninterrupted time for initial setup
Nice to Have
- A second person to test sensors from different rooms while you watch the app
- Cable clips if your base station needs ethernet rather than Wi-Fi
- A notepad to record which sensor is assigned to which zone (you’ll forget otherwise)
- Fresh batteries as spares — sensors ship with batteries but having extras avoids a future trip to the shop
Pre-Installation Checks
Before opening a single box:
- Walk around your house and count the entry points — front door, back door, patio/french doors, ground-floor windows
- Decide which you want monitored (tip: doors are higher priority than windows for most homes)
- Check your Wi-Fi signal strength at the intended base station location
- Confirm your kit includes enough sensors for your plan — most starter kits cover a small 2-bed house; larger homes need expansion packs
Choosing Where to Put the Base Station
The Ideal Location
The base station (or hub) is the brain of your system. Place it:
- Centrally in the house — sensors communicate wirelessly, and range is typically 30-50 metres through walls. Central placement maximises coverage.
- Near your router — if it needs ethernet, keep it within cable reach. If it’s Wi-Fi only, ensure you have strong signal.
- Hidden from immediate view — don’t put it next to the front door where a burglar could grab it instantly. A hallway cupboard, utility room, or under-stairs space works well.
- On a shelf or table — most base stations sit flat rather than wall-mount. Ensure it’s stable.
Where NOT to Put It
- Right next to the front door — a burglar’s first move is smashing the obvious alarm box
- In a metal cabinet or behind thick walls — blocks wireless signals to sensors
- In a garage or outhouse — too far from most sensors, and temperature extremes can affect electronics
- Next to a microwave or baby monitor — RF interference can cause false alarms or missed signals
Our Setup
We placed the Ring Alarm base station in the hallway cupboard under the stairs — hidden, central, with a strong Wi-Fi signal from the router one room away. It’s been running for 14 months without a single connectivity issue. The only downside: the siren is slightly muffled inside the cupboard, so we added a separate external siren near the front door.
Step-by-Step Installation Guide
Step 1: Set Up the Base Station
- Unbox the base station and plug it into power
- Connect to your router via ethernet OR wait for it to boot and connect via Wi-Fi (follow the app prompts)
- Open the manufacturer’s app on your phone and create an account
- The app will detect the base station — follow the pairing process (usually takes 2-3 minutes)
- Name it something sensible (“Home Alarm” rather than “Base Station 1”)
Step 2: Add the Keypad
- Choose a keypad location near your main entry point (typically the front door)
- Mount at comfortable height for all household members (about 130-140cm from floor)
- Use adhesive strips first — you can always drill later if it feels insecure
- Pair it with the base station through the app (pull the battery tab, wait for the LED, add device)
- Set your entry/exit codes — choose something memorable but not obvious (not 1234 or your birthday)
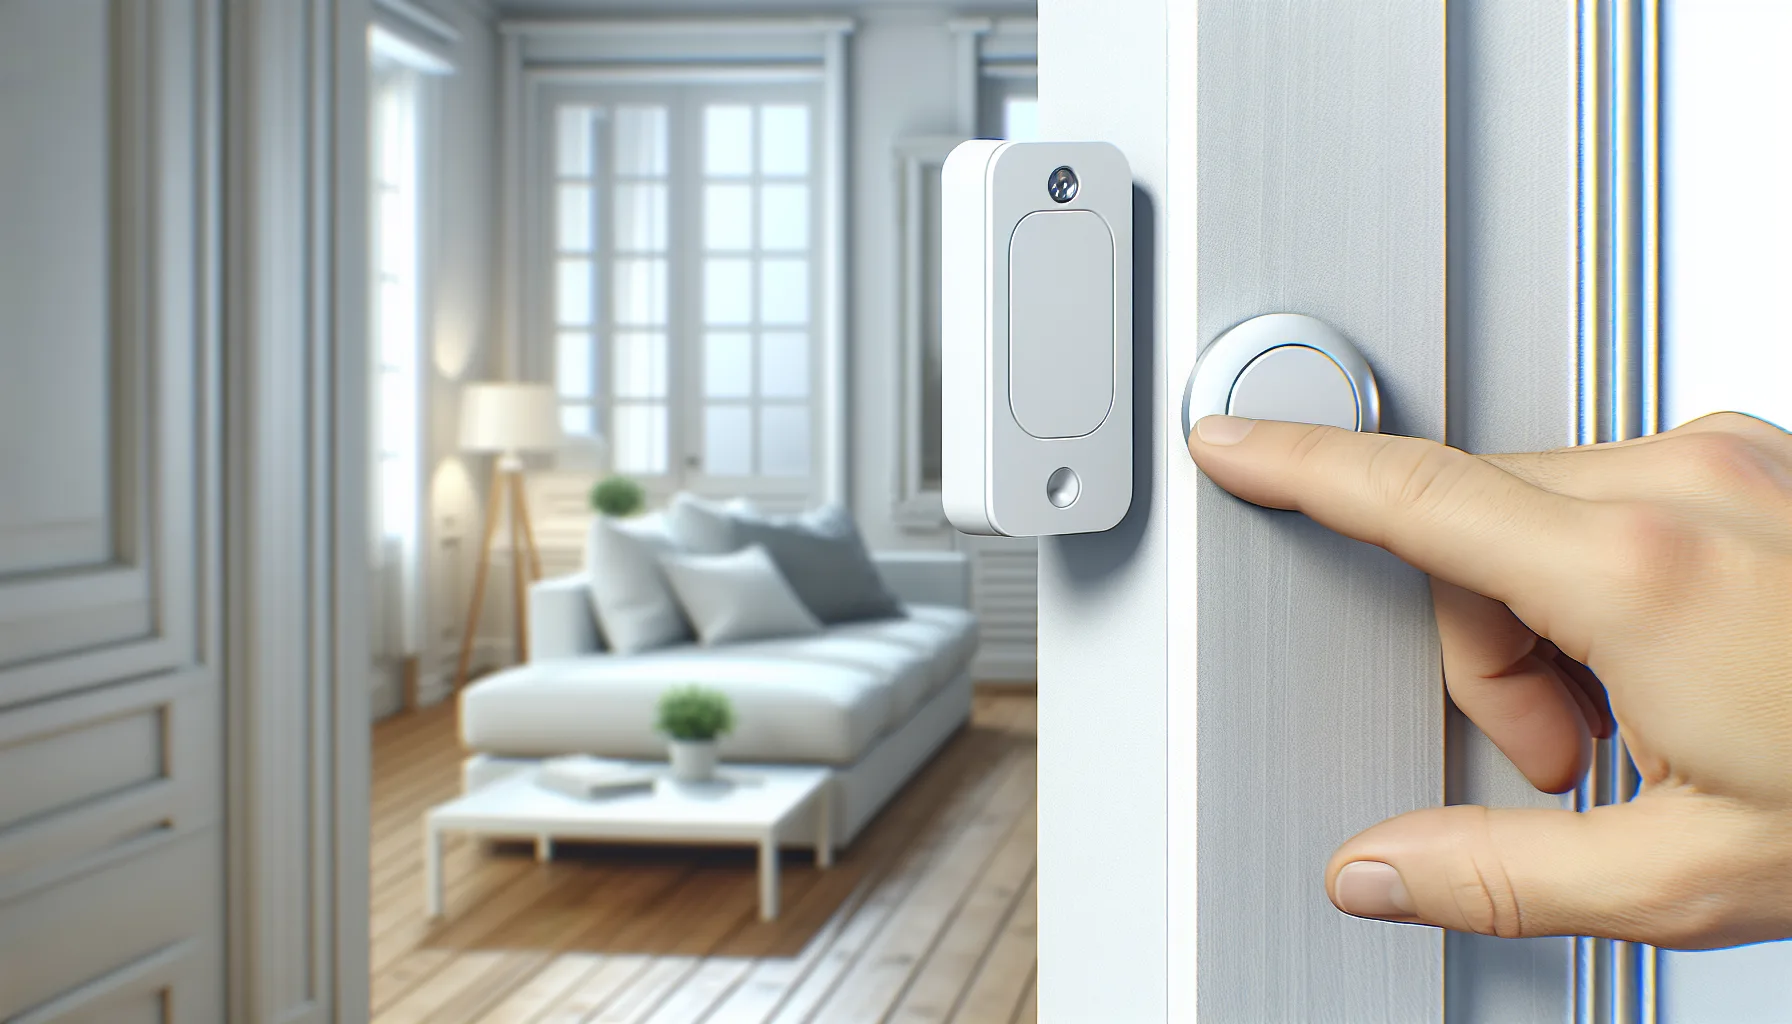
Step 3: Install Door/Window Sensors
- Clean the surface with the alcohol wipe (usually included)
- Attach the larger piece to the door frame and the smaller magnet to the door itself
- Ensure both pieces align within 2cm when the door is closed — if the gap is larger, the sensor won’t register “closed”
- Pair each sensor through the app as you install it
- Name each sensor clearly: “Front Door”, “Kitchen Window”, not “Sensor 4”
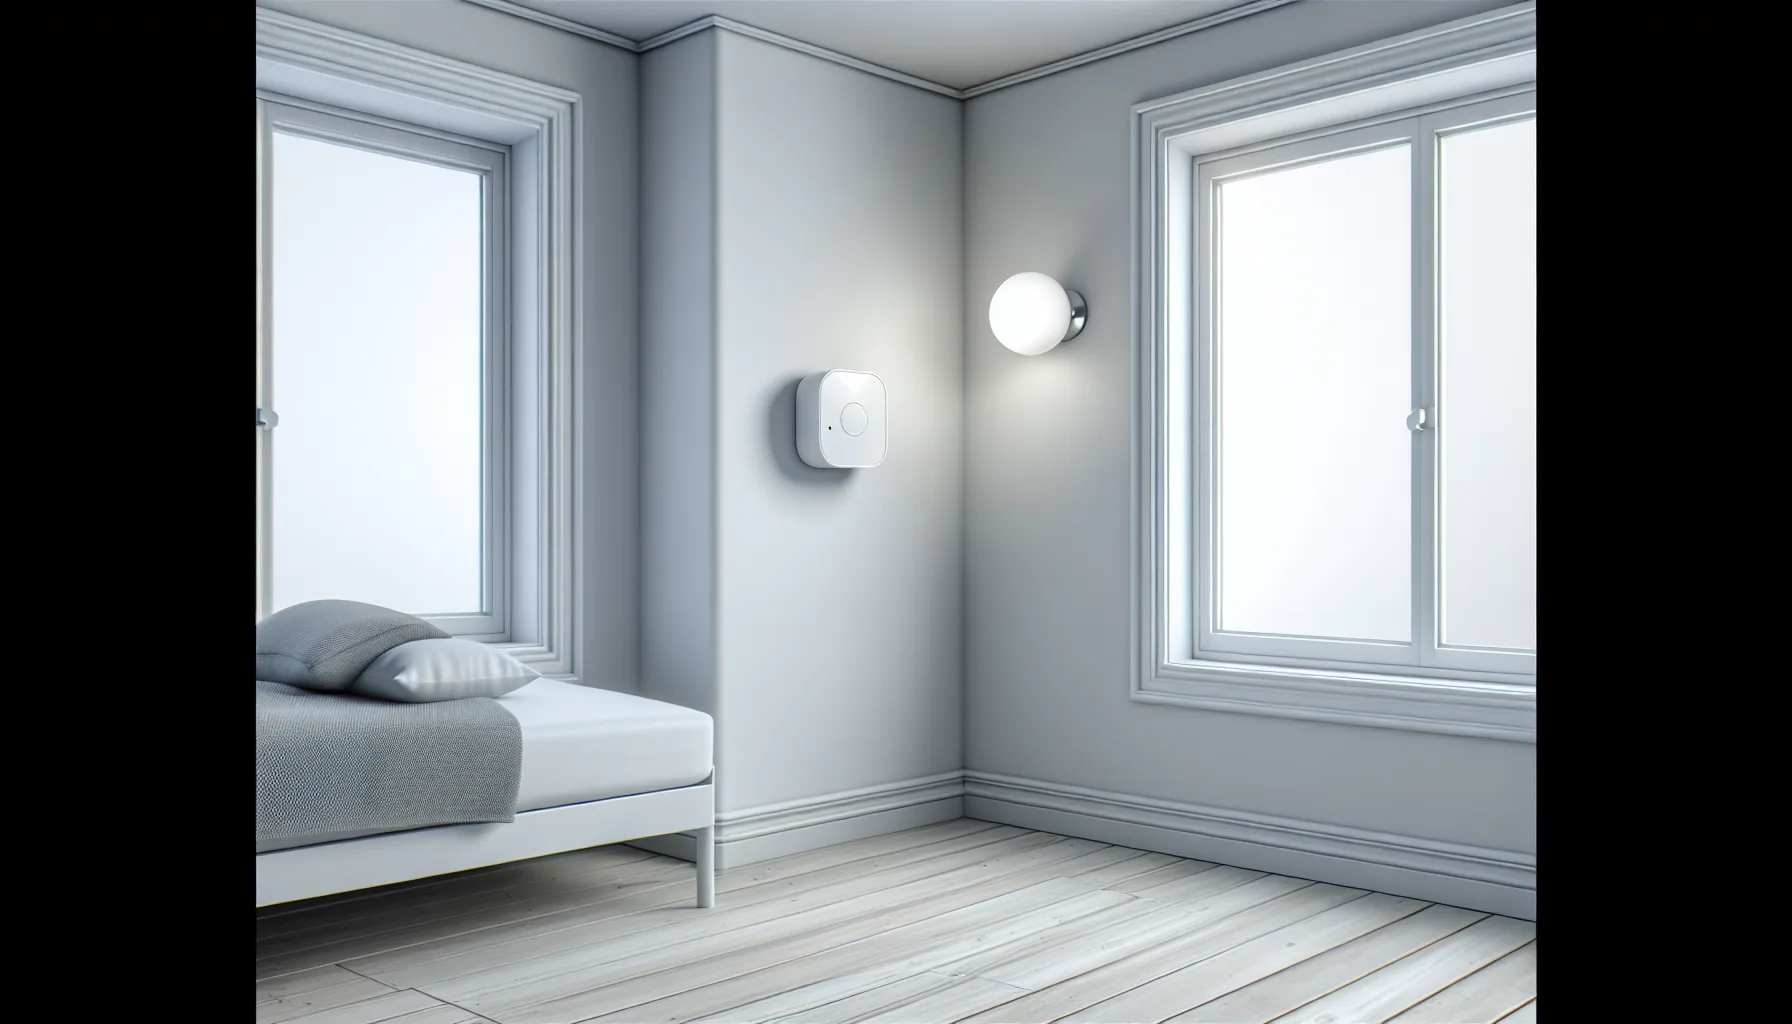
Step 4: Mount Motion Sensors
- Position in the corner of a room at about 2-2.2 metres height
- Aim the sensor so it covers the main walking route through that room
- Angle it away from windows (direct sunlight causes false triggers)
- Avoid pointing directly at radiators or heat sources (PIR sensors detect heat — a warming radiator can trigger them)
- If you have pets, choose pet-immune sensors or mount higher and angle downward
Step 5: Connect the Siren
- Internal sirens usually sit near the base station — plug in and pair
- External sirens need drilling and weatherproof mounting. Position high on the front of the house where it’s visible (deterrent effect) but not easily reachable
- Test the siren volume before permanent mounting — some are louder than expected at close range
Sensor Placement Strategy
Priority Order for a Typical UK Home
Most burglaries in England and Wales enter through doors rather than windows. Home Office burglary statistics confirm this pattern. Prioritise accordingly:
- Front door — contact sensor (mandatory)
- Back door — contact sensor (mandatory)
- Patio/French doors — contact sensor (high priority)
- Hallway — PIR motion sensor (catches anyone who enters via any door)
- Ground-floor windows — contact sensors on accessible ones (especially rear-facing)
- Living room — PIR motion sensor (covers TV/electronics area)
- Upstairs landing — PIR motion sensor (optional but useful for “home” mode at night)
How Many Sensors Do You Actually Need?
For a typical 3-bed semi-detached house:
- Minimum viable: 2 door sensors (front + back) + 1 motion sensor (hallway) = 3 devices
- Recommended: 3-4 door sensors + 2 motion sensors + 1-2 window sensors = 6-8 devices
- Thorough: every entry point + motion in every downstairs room = 10-15 devices
Start with the minimum and expand based on what you learn. Most alarm kits let you add sensors later without reconfiguring the whole system. We started with 5 sensors and added 3 more over the following months as we identified gaps.
Connecting to Your Phone and Wi-Fi
Initial App Setup
Every modern smart alarm uses a companion app. The setup process is nearly identical across brands:
- Download the app (Ring, Yale Connected, SimpliSafe, etc.)
- Create an account with email and strong password
- Enable two-factor authentication (2FA) — this protects against someone disabling your alarm remotely
- Grant notification permissions — this is how you’ll know if the alarm triggers when you’re out
- Add household members so they can arm/disarm too
Wi-Fi Considerations
- Use 2.4GHz — most alarm base stations only work on 2.4GHz, not 5GHz. Check your router broadcasts both.
- Static IP optional but helpful — prevents the base station losing connection if your router reassigns its address
- Backup: some systems (Ring Alarm Pro, Yale) include a cellular backup that works if your broadband goes down. Worth having if security is a serious concern.
Notification Setup
Configure notifications carefully — you want to know about genuine alerts without being spammed:
- Alarm triggered — always notify (push + SMS if available)
- Arm/disarm events — useful to confirm family members are home safely
- Sensor low battery — enable so you replace batteries before they die
- Tamper alerts — someone removing a sensor should always notify you
Setting Up Modes and Schedules
Standard Modes
Most systems offer three modes:
- Away — all sensors active (motion + doors + windows). Use when everyone leaves the house.
- Home/Night — door and window sensors active, motion sensors OFF (so you can walk around without triggering). Use at bedtime.
- Disarmed — nothing active. Normal daytime use when home.
Entry and Exit Delays
- Exit delay (typically 30-60 seconds) — time to leave after arming before sensors activate
- Entry delay (typically 30-60 seconds) — time to disarm after entering before the alarm sounds
Set these sensibly. Too short and you’ll trigger your own alarm fumbling for your phone. Too long and a burglar has a full minute inside before anything happens. 45 seconds works for most homes.
Automation Ideas
- Geofencing — alarm arms automatically when everyone’s phones leave a set radius from home
- Scheduled arming — arm at 11pm every night, disarm at 6:30am. Useful if you forget.
- Smart lock integration — locking the door triggers “Away” mode automatically
If you’re interested in connecting your alarm to the broader ecosystem, our smart home ecosystems guide covers how different platforms integrate.
Testing Your System Properly
The Walk Test
After installation, test every single sensor:
- Put the system in “test mode” (most apps have this — the siren won’t sound during testing)
- Walk through each doorway with a sensor — confirm the app logs the event
- Walk through each room with a motion sensor — confirm detection
- Open each monitored window — confirm the app registers it
- Check the siren triggers (briefly) when you intentionally trip the alarm in normal mode
What to Check
- Response time — notification should arrive on your phone within 5-10 seconds of triggering
- Coverage gaps — can you walk from a window to a valuable item without triggering a motion sensor?
- False alarm sources — do pets trigger sensors? Does the heating switching on cause a PIR alert?
- Range — does the furthest sensor communicate reliably with the base station?
Monthly Maintenance
Set a monthly reminder to:
- Test one sensor (rotate through all of them over a few months)
- Check battery levels in the app (replace below 20%)
- Confirm your notification settings still work (send yourself a test alert)
- Update the app and firmware when prompted
Common Installation Mistakes
Not Testing Wi-Fi Strength First
The base station needs stable internet. If your Wi-Fi drops out during a break-in, a Wi-Fi-only system can’t alert you. Check signal strength before installing. If it’s marginal, move the router, add a mesh node, or choose a system with cellular backup.
Sensor Gaps at Ground Level
Front and back doors are covered, but what about the side gate, the garage internal door, the downstairs toilet window? Walk around the outside of your house and identify every possible entry point. You don’t need sensors on all of them — but you should make a conscious decision about which to leave unmonitored.
Pet-Triggered False Alarms
Standard PIR sensors detect anything warm that moves — including cats and dogs. This is the number one source of false alarms in UK homes. Solutions: mount sensors higher (2.2m+ looking down), use pet-immune sensors (detect mass + movement, ignoring anything under 25kg), or exclude rooms where pets roam from “Home” mode.
Not Sharing Access with Household Members
If only one person can arm/disarm the system via their phone, what happens when they’re not home? Add all household members to the app during setup. Set individual codes on the keypad. Give a spare code to a trusted neighbour for emergencies.
Forgetting the External Siren
Most DIY kits include an internal siren — loud inside but barely audible from the street. An external siren (about £30-£50 extra) serves two purposes: alerting neighbours and deterring burglars who know they’ve been detected. The visible box on the front of your house is itself a deterrent. Our guide to choosing a smart alarm system covers which kits include external sirens.
Professional Monitoring vs Self-Monitoring
Self-Monitoring (Free)
You get notifications on your phone when the alarm triggers. You decide what to do — call the police, check cameras, alert a neighbour. The advantage: no monthly fee. The disadvantage: if you’re asleep, in a meeting, or your phone is dead, nobody responds.
Professional Monitoring (£10-£25/month)
A monitoring centre receives the alert and contacts you, then police if needed. Brands offering this in the UK include Ring Protect Pro (about £10/month), ADT Smart Home (about £25/month), and Yale (via partner services). The advantage: someone always responds, even at 3am. The disadvantage: ongoing cost and potential for slow response during busy periods.
Which to Choose
For most UK homeowners, self-monitoring is adequate when combined with:
- A loud siren (internal + external)
- Cameras that record footage
- Notifications to multiple household members
- A trusted neighbour who can check if you’re unreachable
Professional monitoring makes sense for: holiday homes left empty for weeks, high-value properties, people who travel frequently for work, or anyone who simply wants peace of mind without thinking about it.
Our best smart alarm systems guide and the Ring vs Yale vs SimpliSafe comparison cover specific products in more detail.
Integrating With Your Smart Home
Voice Control
Most smart alarms work with Alexa or Google Assistant:
- “Alexa, arm Ring in Away mode”
- “Hey Google, is the alarm set?”
- Siri integration is limited — most brands don’t fully support HomeKit for alarm arming
Smart Lighting Connection
Connect your alarm to smart bulbs for automatic deterrent lighting:
- Alarm triggers → all lights flash on
- “Away” mode → lights follow schedules to simulate occupancy
- Motion sensor (outside) → porch light activates
Camera Integration
Pair your alarm with cameras for visual verification:
- Alarm triggers → camera starts recording and sends clip to your phone
- Door sensor opens → doorbell camera snapshot captured
- This combination gives you evidence if something goes wrong
Automation Platforms
- Alexa Routines — the easiest for Ring Alarm users
- Google Home Automations — works with Yale and some SimpliSafe setups
- IFTTT — broader integrations but can be slow
- SmartThings — advanced users who want complex rules
Frequently Asked Questions
How long does it take to install a DIY smart alarm? Expect 30-60 minutes for a basic 5-sensor kit if you use adhesive mounting. Add 15-20 minutes per sensor if drilling into masonry. A full 10-sensor system with external siren takes 2-3 hours for a first-timer. The app walks you through each step — it’s not technical, just methodical.
Do DIY smart alarms actually deter burglars? Yes. Research from the Home Office consistently shows that visible alarm systems (especially the external siren box) are a meaningful deterrent. Burglars prefer easy targets — a house with a visible alarm, cameras, and motion-activated lighting is far less attractive than one without.
Will my smart alarm work during a power cut? Most base stations have battery backup lasting 4-24 hours (Ring Alarm: 24 hours, Yale Sync: around 8 hours). Sensors are battery-powered already so they’re unaffected. The main vulnerability is your broadband router — if it loses power, Wi-Fi-only systems can’t send notifications. Systems with cellular backup (Ring Alarm Pro) maintain contact regardless.
Can I install a smart alarm in a rented property? Yes — choose adhesive-mounted sensors and avoid drilling. Ring, SimpliSafe, and Yale all offer adhesive mounting as standard. When you move, peel off the sensors and take the system with you. Nothing is permanently attached to the property. Check your tenancy agreement, but most landlords welcome security improvements.
Do I need to tell my insurance company about a smart alarm? It’s worth mentioning — many insurers offer 5-15% discounts for monitored alarm systems. DIY self-monitored systems may qualify for smaller discounts depending on the insurer. Check your policy and update them. At minimum, it strengthens any future claim if you can show active security measures were in place.