At 6.42am in a terraced house in Cardiff, the alarm app says the kitchen sensor has triggered. The siren is loud enough to wake next door, the children are half-dressed for school, and the culprit turns out to be a cat jumping from the worktop to the windowsill after the heating came on. Nothing has been stolen, but everyone is rattled. That is the kind of everyday nuisance that makes people switch alarms off, which is the opposite of what a good smart security setup should do.
In This Article
- Check The Real Cause Before Changing Settings
- Fit Door And Window Sensors So They Stay Aligned
- Position PIR Motion Sensors For Normal UK Rooms
- Tune App Settings Without Weakening Protection
- Design Home Away And Night Modes Around Real Routines
- Reduce WiFi Power And Tamper Related Alerts
- Use Cameras For Verification Not Constant Alerts
- Maintain And Test The System Through The Year
- Choose Kit That Is Less Prone To Nuisance Alarms
- Frequently Asked Questions
Check The Real Cause Before Changing Settings
The quickest way to create more problems is to lower every sensitivity setting after one false alarm. A better first move is to find the first device that triggered, then work out what changed in that room at that moment.
Most smart alarm apps keep an event log. Look for the first sensor in the chain, not the later motion caused by people walking around after the siren started. If the back door contact triggered first and the hall PIR triggered thirty seconds later, focus on the back door.
To avoid false alarms smart security owners should treat each alert as a small investigation. Common causes in UK homes include:
- A uPVC or timber door moving in wind, cold or damp weather
- A magnetic contact sensor sitting too far from its paired magnet
- A PIR sensor facing a radiator, sunny window or moving curtain
- Pets crossing a motion zone, especially cats climbing furniture
- Exit delays that are too short for coats, bags and locking up
- App automation arming the house while someone is still inside
- Low batteries, loose covers or tamper switches not seated properly
If you are still deciding what to buy, compare how brands show event history, sensor names and arming modes. Our roundup of the best smart alarm systems for UK homes is a useful starting point for DIY and professionally installed options.
Keep a short alarm diary
A note on your phone can be enough. Record the date, time, sensor name, weather, who was at home and what was happening. Patterns often appear within two or three entries.
A kitchen PIR that triggers only on frosty mornings may be reacting to heating. A side-door contact that misbehaves during storms may be moving with the frame. A weekly alert at the same time may be linked to a cleaner, carer or school run routine.
Change one thing at a time
If you move a sensor, change its sensitivity and alter the arming mode on the same day, you will not know which change helped. Make one adjustment, test it, and leave it for a few normal days before changing anything else.
For monitored systems, tell your provider if you are carrying out repeated tests. The NSI guide to home intruder alarm systems explains the UK differences between bells-only, keyholder and police-response style arrangements, which matters if false alarms could affect escalation.
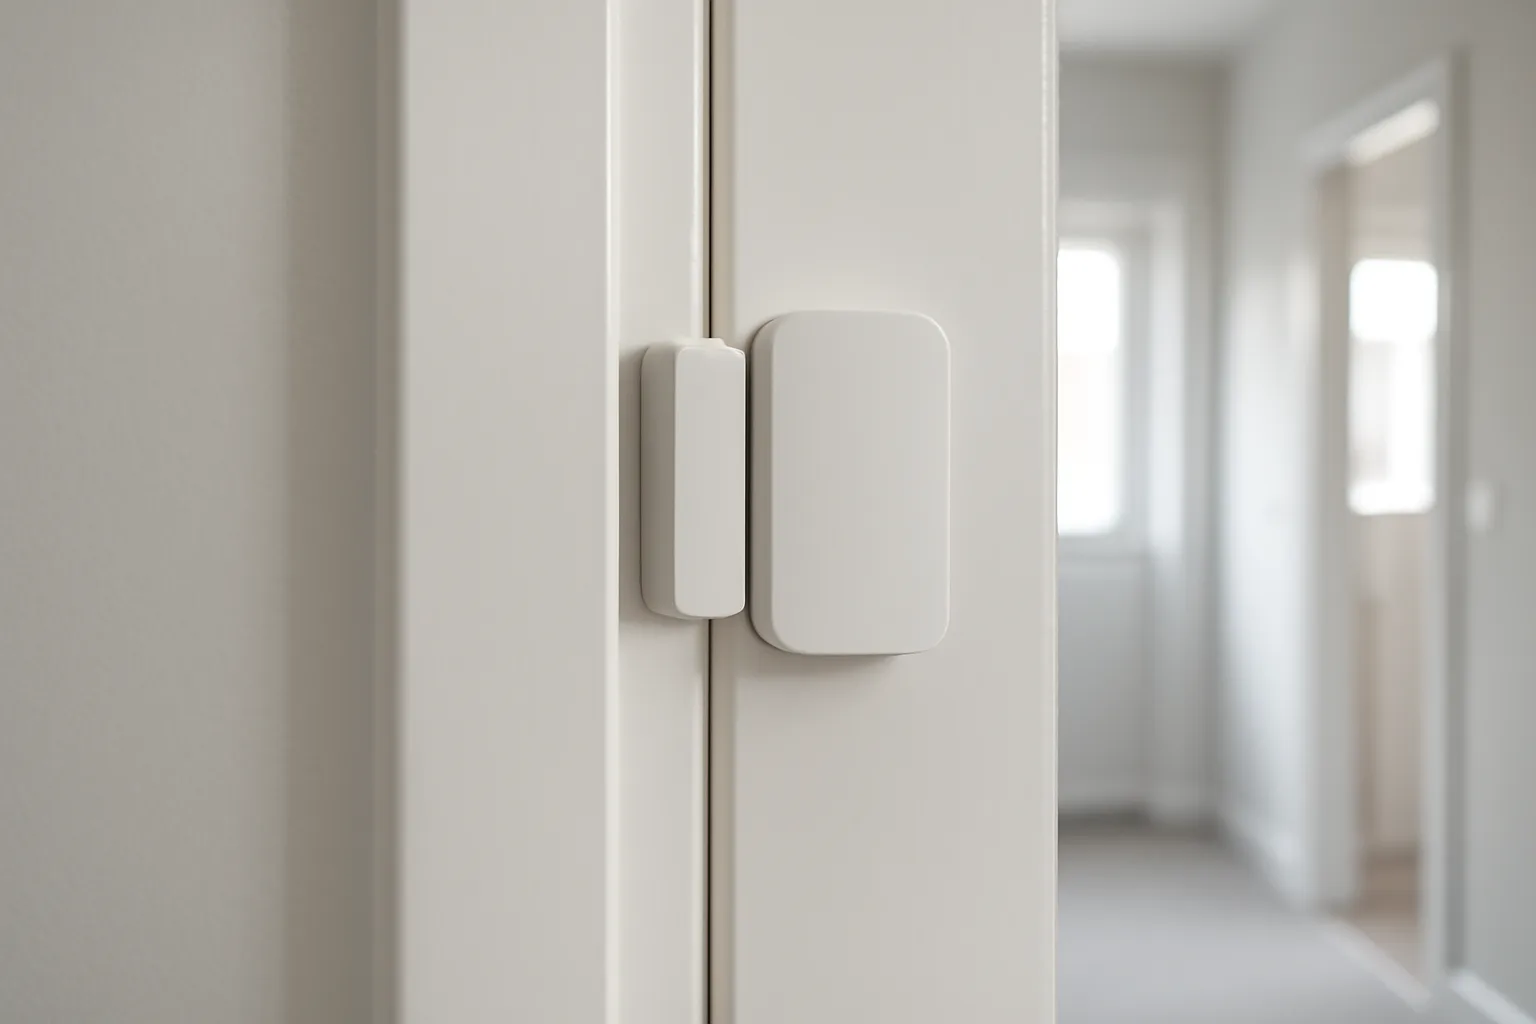
Fit Door And Window Sensors So They Stay Aligned
Door and window contacts are often the most reliable parts of a smart alarm, but only when fitted neatly. They depend on a small magnet and sensor body staying close together. If the gap changes, the system can think the door or window has opened.
Many contacts allow only a modest gap, often around 10 to 20mm depending on the model. Older frames, warped timber, uneven paint and rounded uPVC profiles can all make that gap hard to maintain.
Fit contacts on the most stable surface
Mount the larger sensor body on the fixed frame where possible, with the magnet on the moving part. Use the manufacturer’s alignment marks rather than guessing from the outside shape. Before sticking anything down, close and lock the door fully, then hold the two parts in place and check the app status.
A sensible fitting sequence is:
- Clean the surface with a suitable non-oily cleaner.
- Let the frame dry fully before using adhesive pads.
- Hold the sensor and magnet in place before peeling the backing.
- Check the app shows closed when the door is pulled shut and locked.
- Open the door slowly and confirm the app changes to open.
- Test again after the door has been used for a day.
On some uPVC doors, spacers are needed so both halves sit level. If screws are permitted, take care not to damage seals, glazing units or multipoint locking parts.
Watch for seasonal movement
British weather can move frames by a few millimetres. Timber swells, uPVC expands, and patio doors can rattle in strong wind. A contact that behaved in July may be marginal by January.
Check problem doors during the season when they trigger. Open and close them slowly while watching the app. If the status flicks between open and closed while the door is shut, the magnet is too far away or the door needs adjustment. Do not rely on an alarm sensor to compensate for a door that does not latch cleanly.
For a deeper explanation of contacts, PIRs and other devices, read our guide to smart alarm sensors and how they work.
Position PIR Motion Sensors For Normal UK Rooms
PIR motion sensors detect changes in infrared energy. They are good at spotting movement through a space, but they can also react to heat changes and moving warm air if placed poorly.
In a typical UK hallway, lounge or kitchen-diner, avoid pointing a PIR at radiators, patio doors, conservatory glazing, mirrors, moving curtains or pet routes. Mount it at the height recommended by the maker, commonly around 2.1 to 2.4 metres. If it is too low, pets and furniture become more of a problem. If it is too high or angled badly, coverage may be weaker.
Aim across movement, not straight at it
PIRs usually work best when a person walks across their detection zones. A detector aimed directly down a narrow hall may respond less cleanly than one angled across the route from the front door to the stairs.
Small angle changes can cut nuisance triggers. If a hall sensor faces a radiator, try moving it to cover the path from the door without seeing the heat source. If a lounge sensor sees a sunny bay window, reposition it so the window is outside the main field of view.
Keep pets out of the detection path
Pet-aware sensors are useful, but they are not magic. A small dog walking on the floor may be ignored, while the same dog jumping onto a sofa may be detected. Cats are harder because they climb shelves, windowsills and stair rails.
For homes with pets, use a layered plan:
- Put door and window contacts on the perimeter
- Keep PIRs in rooms where pets do not go while the alarm is armed
- Move cat trees, sofas and pet beds away from sensor sight lines
- Use night mode to protect downstairs doors without trapping pets in a PIR zone
- Test with pets moving normally before trusting the setting
If a pet keeps triggering the same room, change the room design or alarm mode rather than only lowering sensitivity.
Tune App Settings Without Weakening Protection
Most smart alarm systems arrive with default sensitivity, entry delay and alert settings. Defaults are only a starting point. A flat in Manchester, a stone cottage in Cornwall and a semi in Birmingham all behave differently.
Tuning should reduce nuisance alarms while keeping real entry routes protected. If you weaken too many settings, the system may become quieter but less useful.
Use test mode where available
Many systems include a walk-test or test mode. Use it before relying on the alarm overnight or while away. If you installed the system yourself, our DIY smart alarm setup walkthrough covers early choices such as sensor naming, keypad position and mode testing.
A safe tuning routine is:
- Put the system into its test mode if available.
- Walk likely entry routes at a normal pace.
- Open and close each protected door and window.
- Let pets move as they usually would.
- Turn the heating on and off during the test period.
- Review the event log for missed movement or unwanted triggers.
- Adjust one sensor or rule, then repeat the test.
Name sensors clearly
Good labels prevent panic. Kitchen Window Left is more useful than Sensor 7. If a family member receives an alert, a clear name helps them decide whether to check a camera, call a neighbour or ignore a known test.
Clear names also help guests and tradespeople. If a cleaner knows the Utility Door is protected during away mode, they are less likely to enter through the wrong route.
Design Home Away And Night Modes Around Real Routines
False alarms often come from badly planned arming modes. Home, Away and Night settings should reflect how people actually move around the property.
Do not copy every default. Walk through a weekday morning, a late evening, a school holiday, and a day when a visitor arrives. Then decide which sensors should be active in each mode.
Night mode should protect the perimeter
For many homes, night mode works best with external door contacts, downstairs window contacts and selected downstairs motion sensors. Avoid arming PIRs on routes used for bathrooms, children, pets or late-night kitchen visits.
In a townhouse, you may want the ground floor armed while upper floors remain free. In a bungalow, perimeter contacts may matter more than internal PIRs at night. The right answer depends on layout, not just the app’s default label.
Away mode needs enough exit time
Away mode can be stricter because the property should be empty. The exit delay still needs to match real life. If the keypad is by the front door but everyone needs shoes, bags, keys and a dog lead, a short countdown invites mistakes.
Many systems allow delays around 30 to 120 seconds. Pick a duration that allows calm leaving, then test it on a normal morning. If people rush every time, the delay is too short or the arming point is in the wrong place.
Treat geofencing with caution
Auto-arming based on phone location can help, but shared homes make it messy. One person may leave while someone else is asleep upstairs. A teenager’s phone may have location permissions off. A cleaner may be inside without a registered phone.
Before enabling geofencing, run it as notification-only if your app allows. Make sure every regular resident has the right app access, and keep a keypad, fob or tag for people who should not use the app.
Reduce WiFi Power And Tamper Related Alerts
Smart alarms rely on more than sensors. The hub, router, power supply and app account all affect reliability. A broadband issue may not set off the siren, but it can cause delayed notifications, missing camera clips or confusing status messages.
Place the hub where it has a stable connection to the router and the sensors. Avoid metal cupboards, the back of a TV unit and thick stone or brick walls where possible. Older UK houses can have awkward wireless dead spots, especially between extensions.
Check batteries before winter
Sensor batteries often last a long time, but low levels can cause nuisance warnings. Coin cells and CR123A batteries are commonly sold by Argos, Screwfix, Currys and Amazon UK, with typical prices from about £3 to £8 per cell depending on brand and pack size.
Set a six-month reminder to check:
- Battery levels for each contact and PIR
- External siren battery condition if fitted
- Hub backup battery status where provided
- Loose adhesive pads or screws
- Tamper covers that are not clipped on firmly
Do not tape down a tamper switch as a permanent fix. It may silence the warning while reducing the protection the device is meant to provide.
Secure the app account
A reliable alarm also needs sensible digital security. Use strong, unique passwords and two-step verification where available. Keep the app updated, remove old users, and avoid sharing one code or login across the household.
The NCSC smart device safety guidance gives practical UK advice on passwords, updates and connected devices in the home.
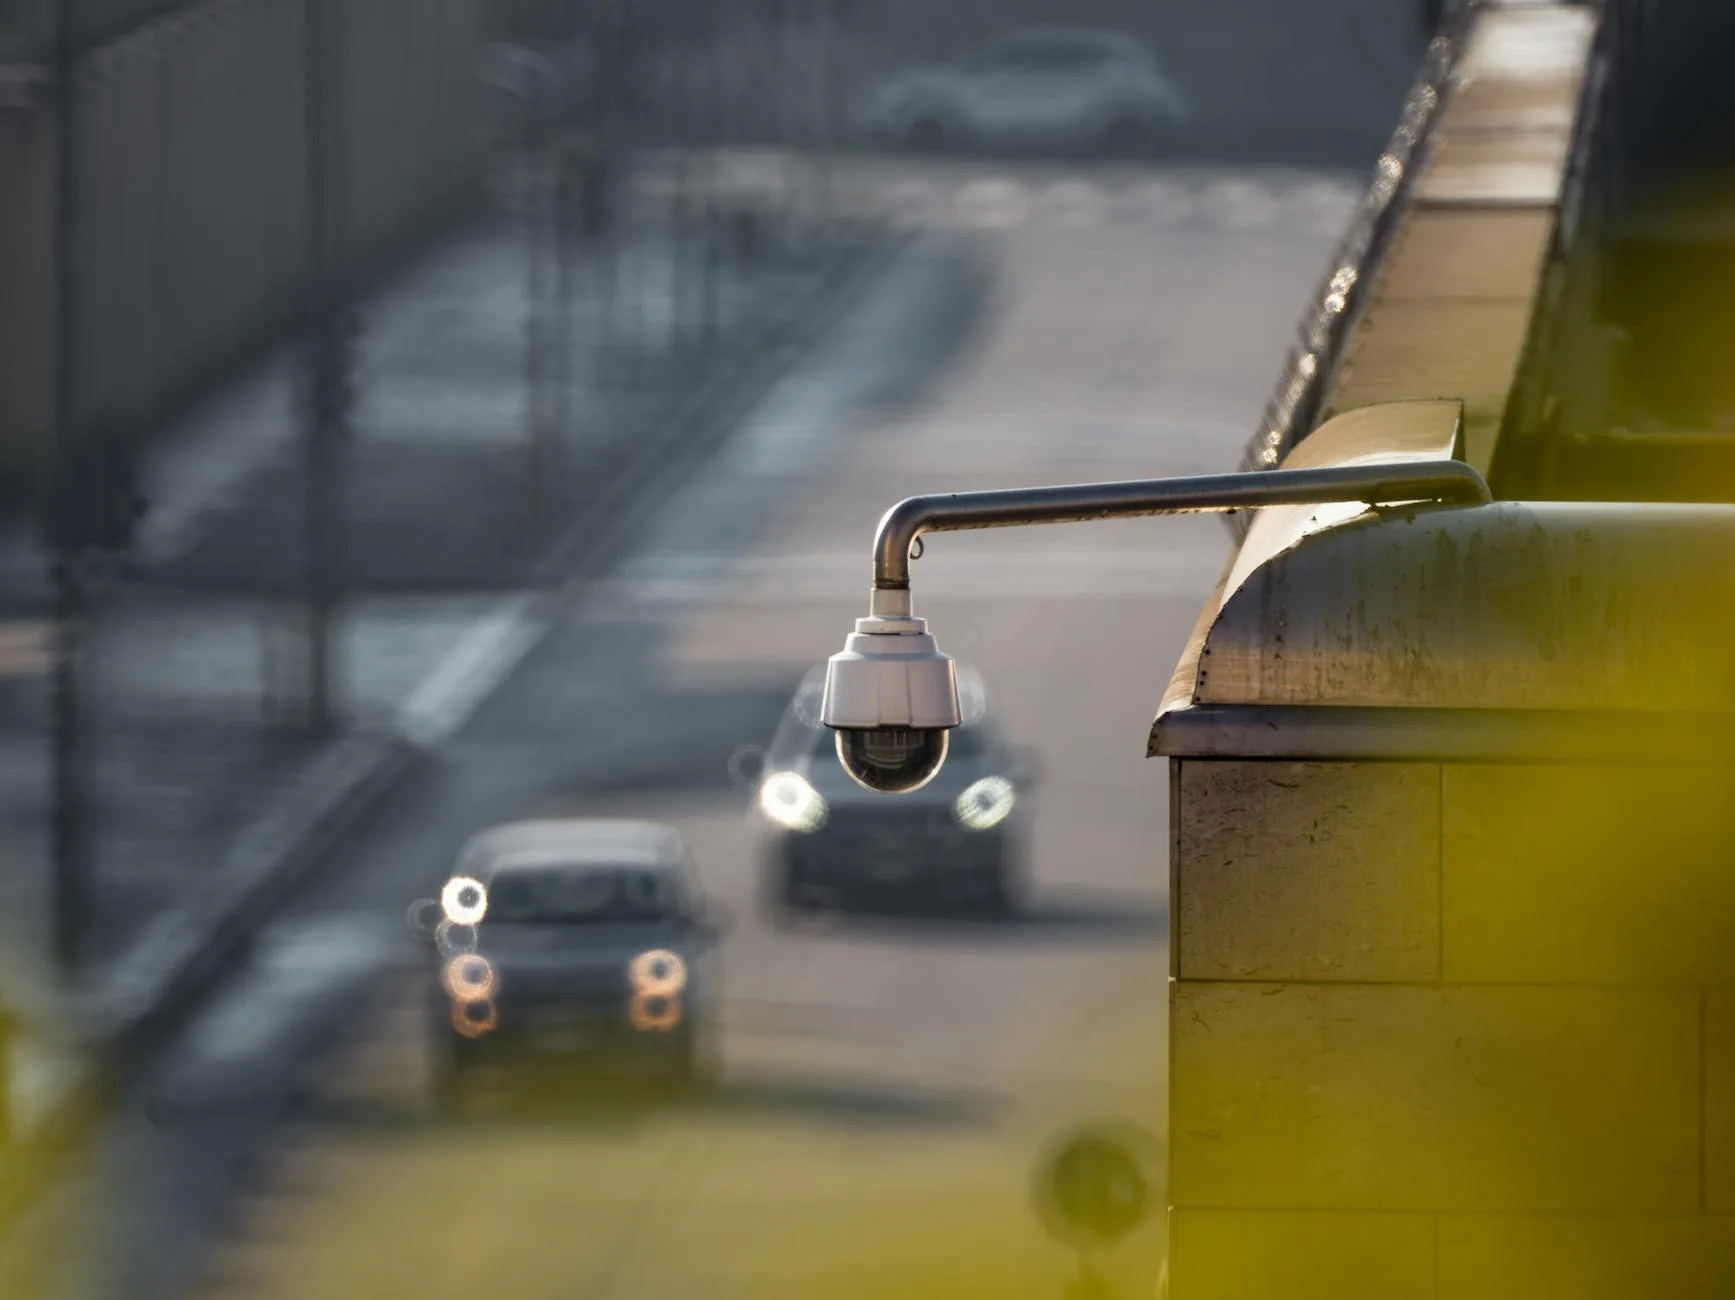
Use Cameras For Verification Not Constant Alerts
Cameras are useful for checking what happened, but they can become a source of noise if every raindrop, headlight and fox creates an urgent alert. Treat cameras as verification, not as the only alarm trigger.
Door contacts and PIRs are usually better at deciding that a protected entry point has been breached. Cameras help you see whether the event is a person, parcel, animal or moving branch.
Set tight motion zones
For a front door camera, include the path, porch and immediate approach. Exclude the public pavement where possible. For a garden camera, cover the shed door, gate or patio doors rather than the whole lawn, trees and fence line.
Useful camera settings include:
- Person alerts near doors and gates
- Recording all motion but notifying only for selected zones
- Privacy masks for neighbouring windows or gardens
- Lower priority alerts for wildlife-heavy areas
- Scheduled alerts that match your alarm modes
In the UK, take care not to capture more of a neighbour’s property or public space than needed. Audio recording deserves extra caution, especially near shared paths.
Use monitoring and keyholders sensibly
If you pay for monitoring, false alarms can waste callouts and reduce confidence in the system. Check how your provider verifies alarms, who is contacted, and what happens after repeated nuisance activations.
For keyholder setups, choose people who live nearby and understand the plan. They should check from a safe position first and should not enter if there is any sign of a break-in. If in doubt, they should stay clear and contact the police.
Our explainer on what happens when smart alarm monitoring triggers covers app alerts, keyholders and escalation in more detail.
Maintain And Test The System Through The Year
A smart alarm can work well on installation day and become unreliable months later. Adhesive loosens, batteries weaken, doors shift, and household routines change. A short maintenance check twice a year prevents many avoidable alerts.
A practical maintenance routine is:
- Test each door and window contact in the app.
- Walk-test PIR sensors using the maker’s instructions.
- Clean camera lenses and remove cobwebs.
- Replace weak batteries before they fail.
- Check siren settings and avoid long tests that annoy neighbours.
- Remove old guest codes and app users.
- Confirm keyholder and monitoring contact details.
- Install app and hub updates when prompted by the manufacturer.
Match checks to the season
Autumn and winter bring heating cycles, swollen doors, darker exits and more time indoors. Spring and summer bring open windows, fans, insects around cameras and garden movement.
Before winter, check door alignment, PIRs near radiators and batteries in outdoor devices. Before summer, review camera zones around plants, window contacts used for ventilation and guest access for holidays.
Choose Kit That Is Less Prone To Nuisance Alarms
Some false-alarm prevention starts before purchase. Do not judge a system only by siren volume or app screenshots. Look at sensor quality, mode control, event logs, range extenders, battery availability and UK support.
A small DIY kit for a flat or modest terrace might cost around £180 to £300, with extra contacts or PIRs often around £20 to £45 each. A larger house, external siren, outbuilding protection or monitored plan can cost more, sometimes with monthly fees.
If you are working to a fixed budget, our smart home security setup under £300 shows how to prioritise the parts that matter most. A smaller system fitted carefully is often less troublesome than a large kit stuck in poor positions.
Compare brands by daily use
Popular UK systems handle false-alarm control differently. Before buying, check these points:
- Can every sensor be named clearly?
- Are Home, Away and Night modes easy to edit?
- Can entry and exit delays be changed?
- Does the app show which sensor triggered first?
- Are pet settings available on suitable PIRs?
- Can the system sound locally if broadband drops?
- Are replacement batteries and sensors easy to buy in the UK?
Our comparison of Ring Alarm, Yale and SimpliSafe is worth reading if you are choosing between mainstream systems for a typical house or flat.
Know when to get professional help
DIY installation suits many flats, terraces and semis, but some homes are awkward. Consider an installer if you have thick walls, several extensions, outbuildings, a history of nuisance alarms or monitoring requirements that need formal maintenance.
Professional fitting does not remove the need for good routines. You still need clear codes, sensible arming modes, fresh batteries and users who know how to leave and enter without setting the siren off.
Frequently Asked Questions
Why does my smart alarm keep going off when nothing is there? Check the event log for the first sensor that triggered. Common causes include moving doors, heating near PIRs, pets, low batteries, loose tamper covers and motion zones that include roads, trees or curtains.
Can I stop false alarms by lowering motion sensitivity? Sometimes, but it should not be the first or only fix. Move the sensor away from heat, sunlight and pet routes first. If you lower sensitivity, do it in small steps and test that real movement is still detected.
Are pet-friendly alarm sensors reliable? They can help, but they depend on pet size, room layout and mounting height. Cats that climb and dogs that jump onto furniture can still trigger PIRs. Perimeter contacts are often better in rooms where pets roam.
Will my smart alarm still work if Wi-Fi goes down? Many systems still sound the local siren without Wi-Fi, but app alerts, camera clips and monitoring may be affected. Check your model’s offline behaviour, backup battery and any cellular backup option before relying on remote alerts.
How often should I test a smart security system? A light monthly check and a fuller six-monthly review suits many homes. Follow the manufacturer’s instructions, test contacts and PIRs, check batteries, review users and avoid long siren tests that disturb neighbours.
Can repeated false alarms affect a monitored response? They can, depending on the provider, confirmation method and response arrangement. If police or keyholder escalation matters to you, keep the system maintained, investigate each false alarm and follow your monitoring provider’s rules.